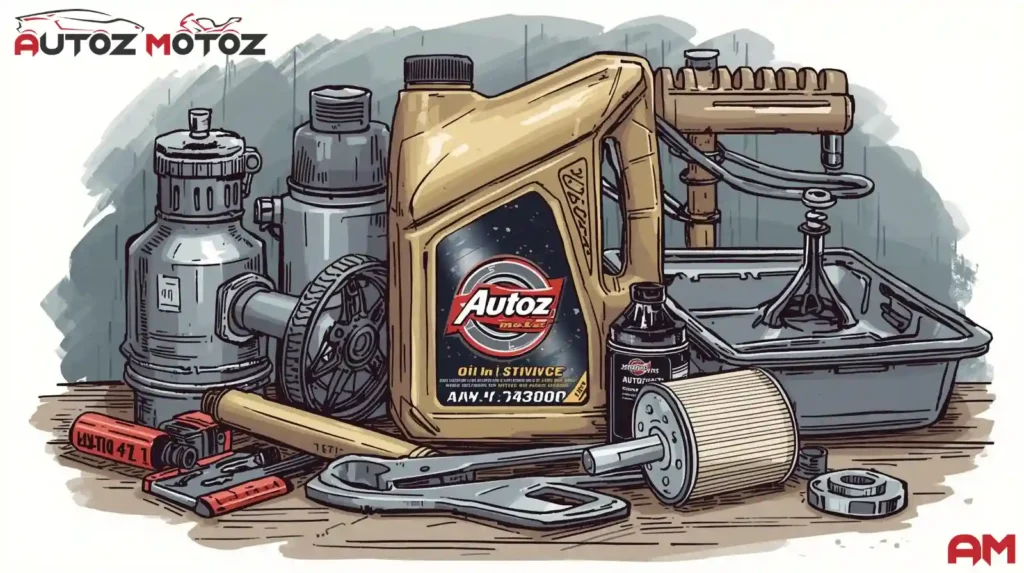
Most articles will tell you an oil change is just “drain the oil and replace the filter.” That’s technically true—but in practice, a proper oil change is much more than that.
After years of hands-on work across different vehicle types and conditions, I can tell you: the difference between a basic oil change and a quality one is what keeps engines healthy long-term—and what prevents expensive failures.
Let’s break down what a standard oil change should actually include when done correctly.
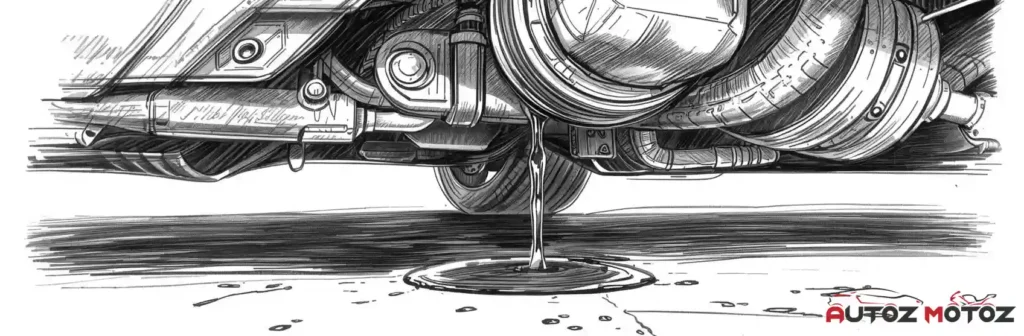
1. Draining the Old Engine Oil (Properly)
This is the foundation—but even here, there’s nuance.
A proper oil drain involves:
- Letting the engine warm slightly (to improve oil flow)
- Fully draining the oil (not rushing the process)
- Inspecting the drained oil for:
- Metal particles
- Sludge buildup
- Burnt smell (overheating indicator)
Common mistake I see: quick-service shops rushing this step, leaving old oil behind. That contaminates the new oil immediately.
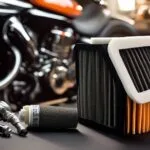
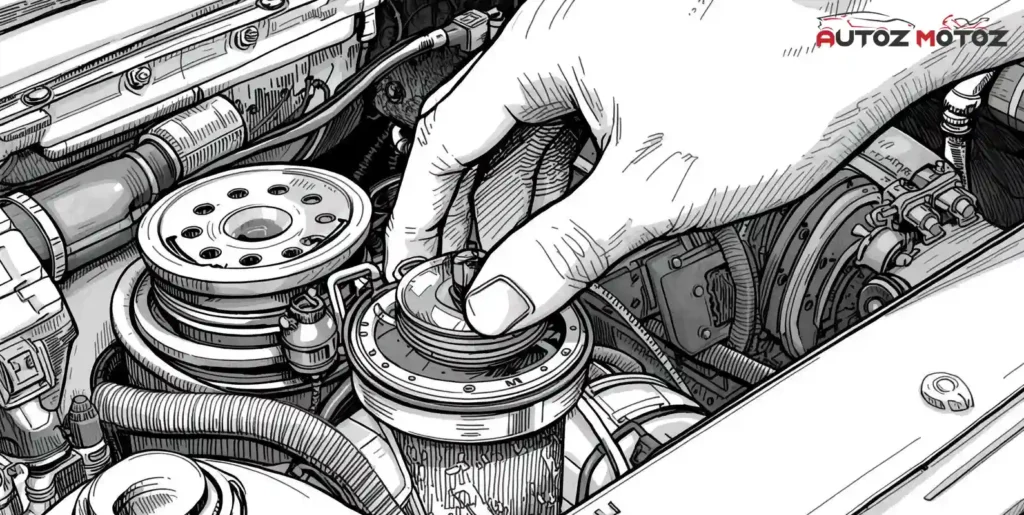
2. Replacing the Oil Filter (Not Optional)
Every standard oil change should include a new oil filter—no exceptions.
Why it matters:
- The filter traps contaminants and metal debris
- A clogged or cheap filter reduces oil flow
- Poor filtration accelerates engine wear
What I personally do (and recommend):
- Use quality filters (not the cheapest available)
- Lightly oil the gasket before installation
- Hand-tighten to proper spec (not over-tightened)
3. Installing a New Drain Plug Washer (Often Overlooked)
This is one of the most ignored parts of an oil change.
- The drain plug usually uses a crush washer or gasket
- It’s designed for single use
What happens if you reuse it:
- Slow oil leaks
- Stripped threads from over-tightening
- Long-term damage to the oil pan
I’ve seen many cases where a $0.20 washer could’ve prevented a costly repair.
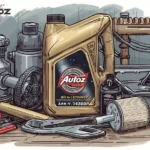
4. Refilling with the Correct Oil Type and Quantity
This is where experience really matters.

A proper oil change includes:
- Using the correct viscosity grade (e.g., 5W-30, 0W-20)
- Choosing the right type:
- Conventional
- Synthetic
- High-mileage
- Filling to exact manufacturer specification
Real-world insight:
I don’t blindly follow “one oil fits all.” Driving conditions matter:
- Heavy traffic → oil degrades faster
- Hot climates → higher stress on oil
- Turbo engines → require higher-quality synthetic oil
Common mistake:
- Overfilling or underfilling the engine—both are harmful
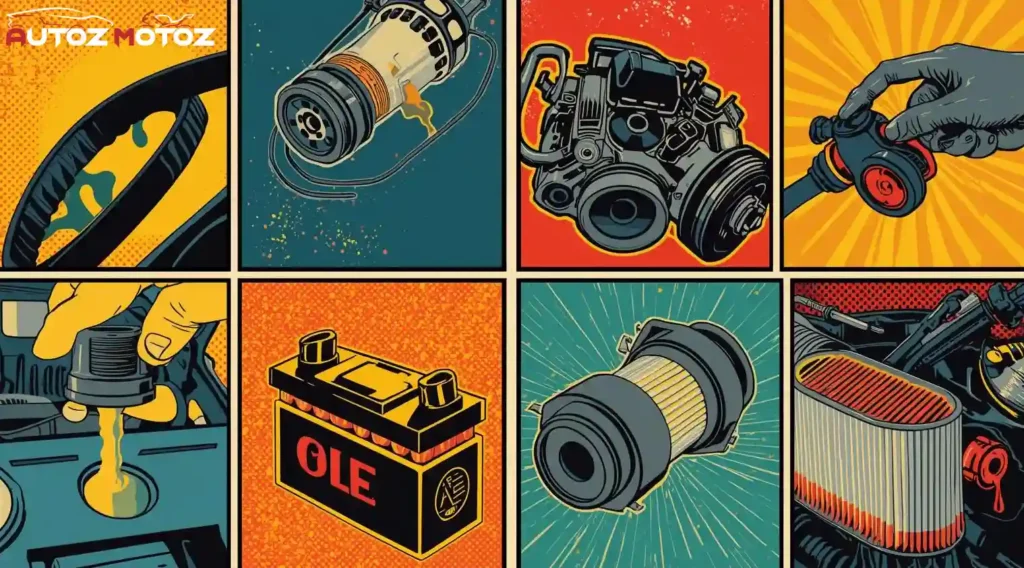
5. Basic Fluid Top-Off (A Good Shop Always Does This)
A proper oil change typically includes checking and topping up:

- Coolant
- Brake fluid
- Power steering fluid
- Windshield washer fluid
This isn’t just a bonus—it’s part of preventive maintenance.
6. Visual Inspection (This Is Where Value Comes In)
This is what separates a cheap oil change from a professional one.
During every oil change, I check:
- Oil leaks (gaskets, seals)
- Condition of belts and hoses
- Battery terminals
- Air filter condition
- Undercarriage issues
For more read: Best-car-cleaning-solutions-2026
Case example:
During a routine oil change, I once spotted a minor oil seep from a valve cover gasket. The owner had no symptoms yet. Fixing it early cost very little—waiting would have led to oil loss and engine damage.
7. Resetting the Oil Change Indicator
Modern vehicles track oil life electronically.

A standard oil change should include:
- Resetting the maintenance light/system
If this isn’t done:
- You get incorrect service reminders
- Maintenance tracking becomes unreliable
8. Leak Check and Final Verification
Before handing the car back, a proper process includes:
- Running the engine briefly
- Checking for leaks around:
- Drain plug
- Oil filter
- Rechecking oil level after circulation
This step is quick—but critical.
What Most People Get Wrong About Oil Changes
After years of experience, here are the biggest misconceptions:
1. “All oil changes are the same”
They’re not. The difference is in attention to detail.
2. “Cheaper is better”
Low-cost services often cut corners:
- Cheap filters
- No washer replacement
- Minimal inspection
3. “Manufacturer interval always works”
In real-world driving (traffic, heat, dust), I often recommend shorter intervals than the manual suggests.
A Real Case That Proves the Point
A customer once came in after getting regular “budget oil changes” elsewhere.
Issue:
- Engine noise and reduced performance
What I found:
- Wrong oil viscosity used repeatedly
- Cheap filter partially clogged
- Oil slightly overfilled
After correcting everything:
- Engine noise reduced significantly
- Performance improved
This wasn’t engine failure—but it easily could’ve become one.
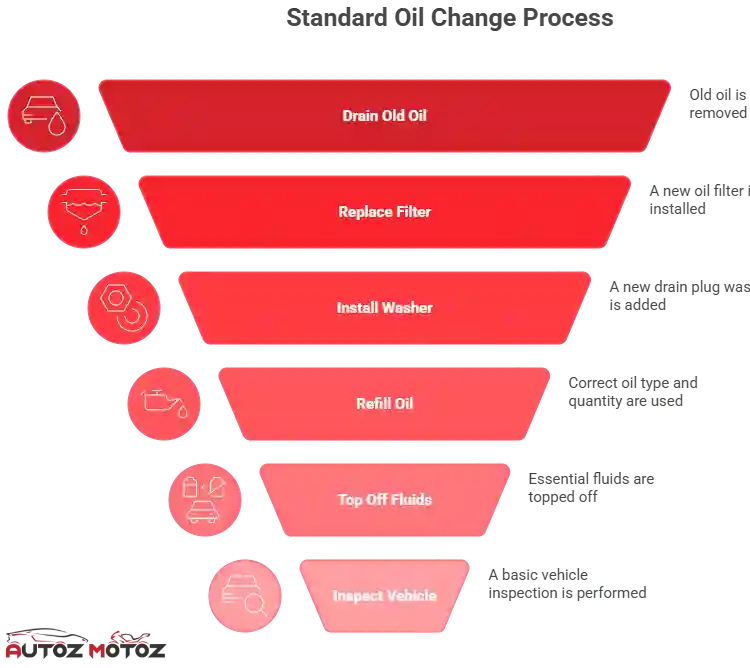
So, What’s Actually Included in a Standard Oil Change?
A proper standard oil change includes:
- Draining old oil completely
- Replacing the oil filter
- Installing a new drain plug washer
- Refilling with correct oil (type + quantity)
- Topping off essential fluids
- Performing a basic vehicle inspection
- Resetting maintenance indicators
- Checking for leaks and verifying work
Final Takeaway
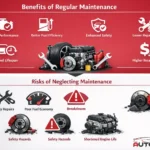
An oil change isn’t just routine maintenance—it’s your engine’s first line of defense.
Done right, it:
- Extends engine life
- Improves performance
- Prevents costly repairs
Done poorly, it quietly creates problems that show up months later.
If you’re getting your oil changed—or doing it yourself—focus less on price and more on process and precision. That’s what actually protects your engine long-term.
Technical precision in motorcycles, cars, and automotive gear is established by Nahid Hassan through rigorous evaluation. Performance-driven reviews and high-value affiliate insights are consistently curated at AutoZMotoZ to ensure reader trust. Absolute integrity is maintained in every analysis, with a focus on original and human-verified data.